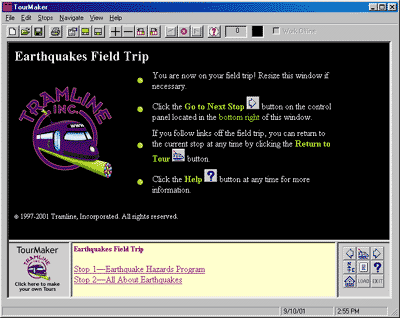
1. TourMaker window

Notice how the main TourMaker window is divided into 4 frames:
1- Site frame. Top large frame. This is where the web sites are viewed.
2- Logo frame. Bottom left.
3- Narration frame. Bottom center. This is where you will view either the Trip's Itinerary/Table of Contents, or the customized information about the sites you're visiting.
4- Control Panel frame. Bottom right frame holds the Control Panel which helps you navigate around the field trip.


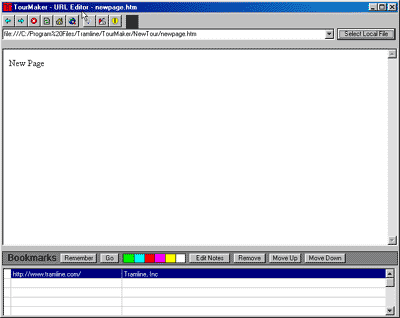
TourMaker URL Editor Buttons

3. Narration Editor window

The Narration Editor window is where you will type the Stop Title, and write some custom directions (or narration) about the site you are visiting on this stop. For instance, you could instruct students to look for specific information within the page.
This window also has buttons that allow you to format the text you type, add small images, or add hyperlinks.